Mitigation Actions are Work Items. They can be assigned to specific users and managed by each user in his/her Execution Work Items workspace.
Log in to the HTML5 client.
Select the Risks tab, available in the Work workspace.
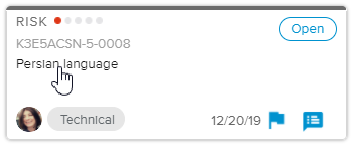
In the Risks Home Page – Single project selection, click on the Risk Name of the Risk card to open the Risk dialog box.
In the Mitigation section, click on the
 button to open the Mitigation Plan popup.
Select the Mitigation Actions sub-tab and click either on the Create & Connect button or on the Connect to Existing button depending on whether the Action already exists or not.
When Mitigation Actions are created, a Connection will be created between the Risk and the Action (Work Item).
When that happens, the  button available in the Risk dialog box will turn blue. The Actions section will therefore be displayed in the Risk dialog box.
Mitigation Actions are not mandatory.