When applying timesheets, the Project As Of Date will be updated automatically to Today’s date.
If the Team Member does not belong to the Performing Resources, he/she will be automatically added to the Project Team upon applying the corresponding Timesheet.
When a project is selected, you can undo ( ) the Apply action if the project is locked.
Log in to the HTML5 client.
Select the Tracking tab available in the Work workspace.
Select a project in the Project Data Selector.
By default, the Timesheets Home Page displays the Resource Timesheets for the Current Week. Select another time frame if needed.
The Timesheets Home Page provides the list of Resource Timesheets, grouped by overall Status enabling bulk actions
Click on the Apply button available in the section containing the Timesheets for which you want to perform a bulk action.
Select one of the following command:
The Impact Management popup is displayed:
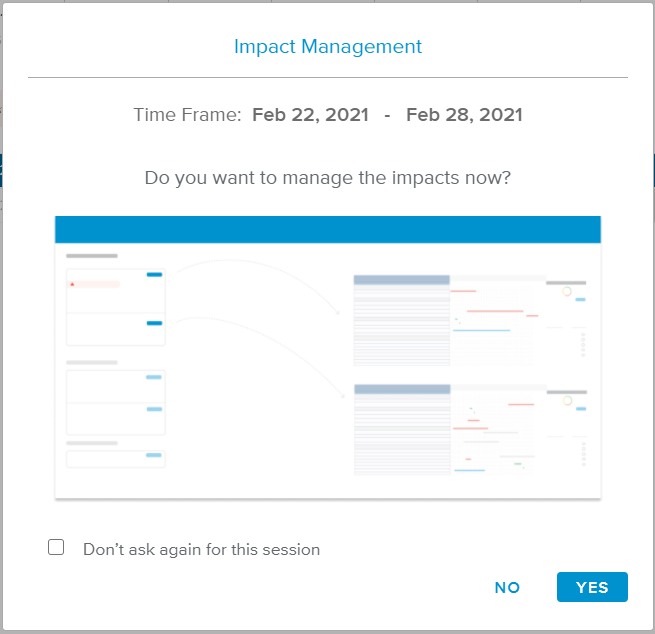
Clicking on the YES button will display the Impact Management full screen view.
On the Timesheets Home Page, the Timesheets moved to the Applied Status section.
The Applied label indicates
 .
.
In the Timesheets Home Page, click on the Resource's name to switch to the Timesheet Details full screen view.
Click on the Apply button, and select one of the following command:
TipThe Project Manager can also Apply a specific Task Timesheets by clicking on the corresponding More (
 ) button.
Then, the behavior is the same as the one explained in the "Bulk action" section above.